Having trouble submitting? Email us directly at nicole@beauway.com and we'll get back to you within 24 hours.











Vertical Tail Lift Maintenance: DIY Removal or Call a Professional?
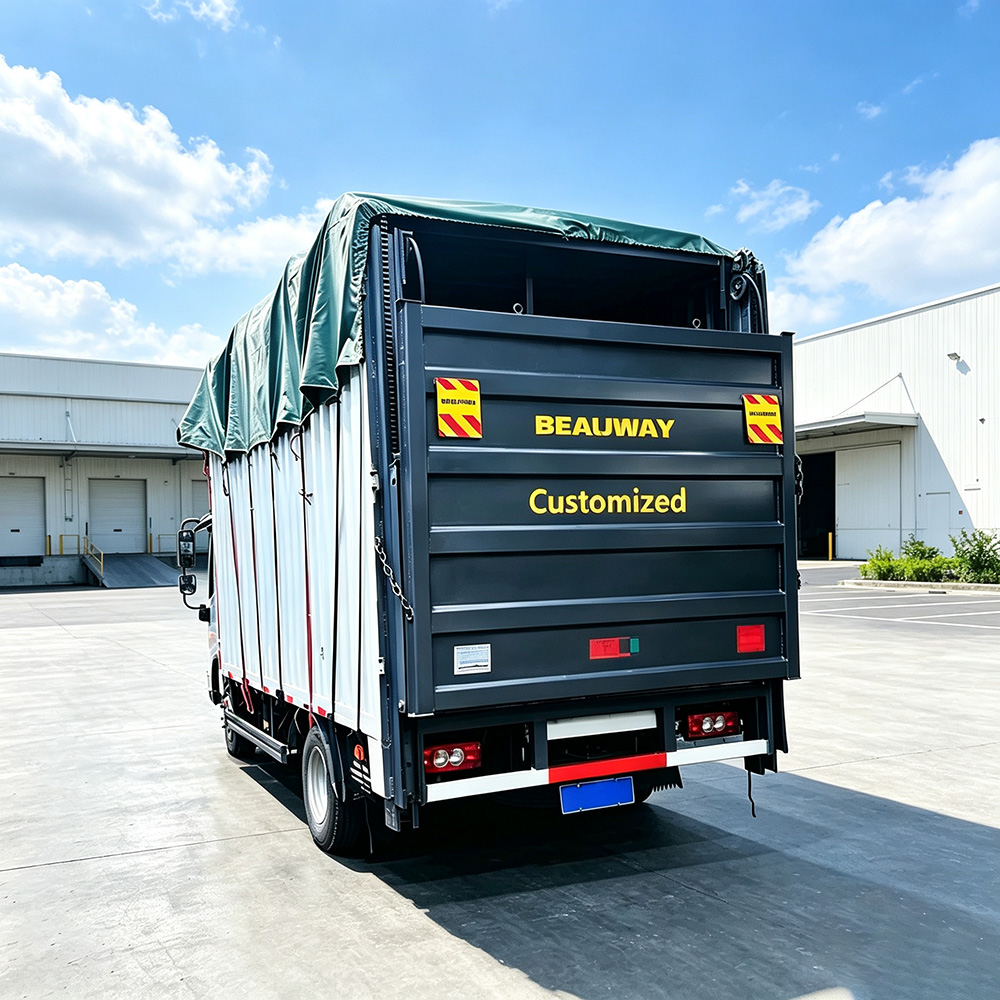
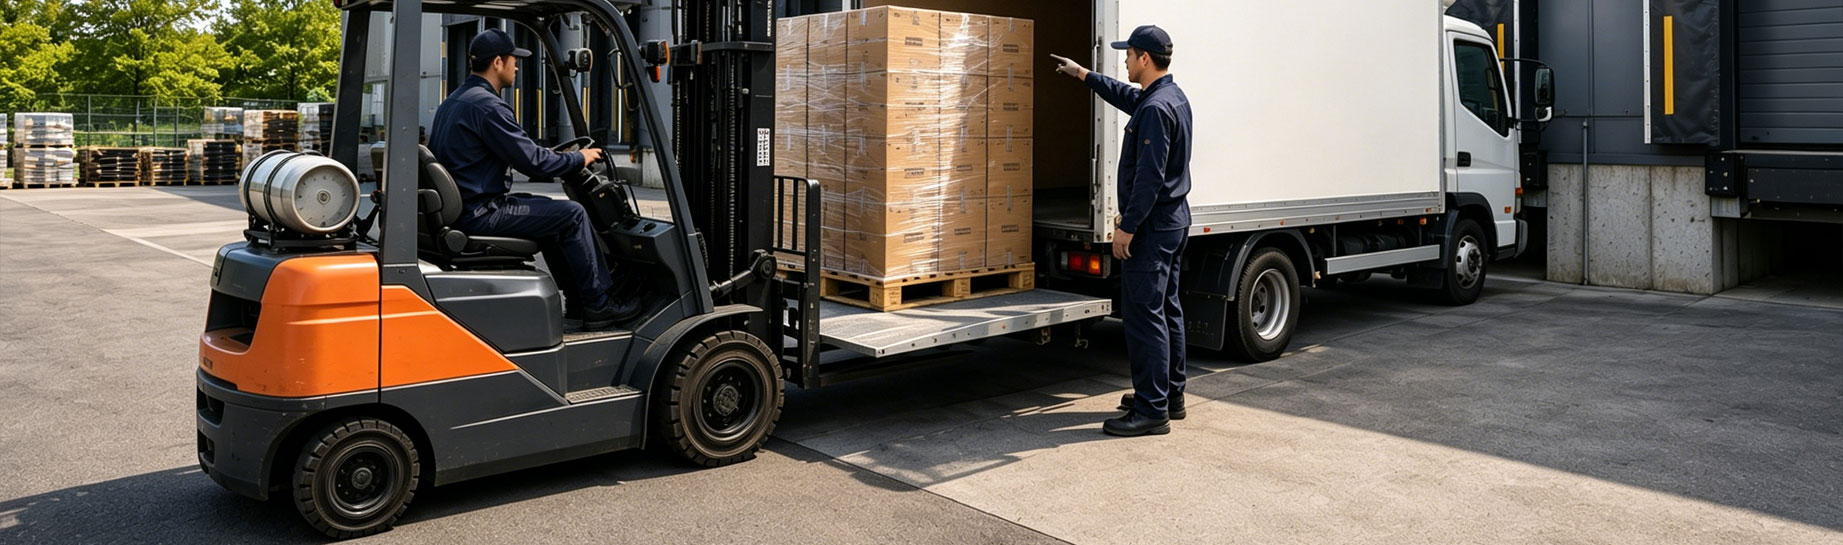
Vertical Tail Lift Maintenance covers everything from routine lubrication checks to full removal and reinstallation of the lifting unit. A vertical tail lift is a mechanical loading platform at the rear of a box truck or cargo van. It raises and lowers goods between ground level and the vehicle bed along a fixed vertical structure. The unit combines a hydraulic system with a heavy moving platform. Because of that, deciding what to handle in-house and what to leave to a trained technician is one of the first questions most fleet operators face.
A common situation in the industry looks like this: a delivery fleet notices a platform that lowers unevenly, a control button that responds slowly, or a faint hydraulic leak near the base of the lift. In many cases, the issue traces back to a missed lubrication interval or a worn seal, not a major mechanical failure. Spotting these early signs, and knowing which ones are safe to inspect without disassembly, usually makes the difference between a short maintenance stop and a longer, costlier repair. It also shapes how a fleet budgets for tail lift servicing: a unit that gets regular attention tends to need fewer emergency callouts than one that only gets a look once something stops working.
This distinction matters because tail lift upkeep covers a wide range of work. On one end sits light maintenance that any reasonably equipped shop can handle on a recurring schedule. On the other end sits structural removal and hydraulic work. That heavier end overlaps with what most people call tail lift repairs, where the margin for error shrinks and the job calls for tools and training beyond a basic maintenance kit. The sections below walk through both ends of that range: what to check regularly, how removal and reinstallation work, and where the line for professional help usually sits.
Tools, Safety Gear, and Choosing DIY vs. Professional Help
Basic Toolkit and Safety Gear
Before any inspection or removal work begins, it helps to separate routine maintenance from structural work. Wiping down the platform, checking hydraulic fluid levels, and greasing exposed pivot points are tasks many fleet technicians handle on a regular schedule. Removing the lift structure from the vehicle frame is a different job. It means disconnecting power, releasing hydraulic pressure, and supporting components that can weigh well beyond what one person should lift alone.
For basic upkeep, these tools are typically enough:
- A set of wrenches and sockets sized to the mounting hardware
- A grease gun with manufacturer-approved lubricant
- A clean rag and a hydraulic-fluid-safe container for checking fluid levels
- A torque wrench, for any bolt someone removes and reinstalls
Safety preparation matters just as much as the toolkit:
- Work gloves and eye protection at minimum; steel-toe boots are strongly recommended
- A flat, stable work surface with enough clearance around the vehicle
- A mechanical support, such as a hoist, forklift, or adjustable stand, for any step that lifts the platform or column assembly off the vehicle
- A second person present whenever a heavy component moves
When to Call a Professional
Routine checks and minor adjustments are generally reasonable for an in-house team with basic mechanical experience. Full removal, hydraulic line work, or anything involving a unit still under warranty falls into a different category. Opening a pressurized hydraulic tail lift system without a proper lockout procedure can release stored energy unexpectedly. A dropped platform or column section is a serious injury risk. The U.S. Occupational Safety and Health Administration outlines general requirements for isolating hydraulic and mechanical energy before service work begins, which offers a useful reference point regardless of the specific equipment involved. When in doubt about hydraulic pressure, structural mounting, or warranty terms, a qualified technician is the safer and often more cost-effective choice.
A useful way to frame the decision is to ask three questions before starting any task. First, does the job involve opening a pressurized hydraulic line, or only checking a fluid level through a sealed sight glass or reservoir cap? Second, does the vehicle still carry a manufacturer or installer warranty that unauthorized disassembly could affect? Third, is there a way to mechanically support every heavy component involved, rather than relying on manual strength alone? A “no” to the third question is usually reason enough to call in outside help, regardless of how the other two turn out. Fleets that keep a written checklist covering these three points tend to make more consistent calls across different technicians and vehicles, rather than leaving the decision to individual judgment each time.
Step-by-Step Removal Process
When removal is necessary, a consistent order reduces the risk of skipped steps and helps with reassembly later. Photographing each stage as it happens is a simple habit that makes reinstallation considerably easier.
- Lower the platform fully to its resting position. This reduces the chance of unexpected movement once mounting hardware comes loose.
- Disconnect the power source, whether that is the vehicle battery or a dedicated electrical connection, to remove the risk of accidental activation.
- Remove the platform by locating the bolts or pins that secure it to the vertical structure. Penetrating oil can help with hardware that has corroded over time. Support the platform’s weight before the last fastener comes out.
- Release hydraulic pressure using the system’s own shutdown procedure before disconnecting any hoses. Keep a container ready to catch residual fluid, and loosen fittings gradually rather than all at once.
- Detach the vertical structure from its mounting brackets on the vehicle frame. The assembly may shift once the final bolt comes out, so a mechanical support should hold it, not a pair of hands.
- Remove internal components such as guide rails, rollers, or springs if further disassembly is needed. Store small hardware in labeled containers to avoid mismatched parts during reassembly.
Throughout this process, keep in mind that the vertical structure and platform are not interchangeable with unrelated automotive parts. Confusing terminology across guides is a common source of mistakes. The column-style structure supporting a tail lift has nothing to do with a vehicle’s steering column, for example, even though the word “column” appears in both. Consistent, correct terminology in any notes or labels made during removal helps avoid confusion once reassembly begins, especially with more than one person on the job.
Step-by-Step Reinstallation Process
Reinstallation generally follows the removal sequence in reverse, with a few points that deserve extra attention.
- Reposition the vertical structure against its mounting brackets, checking alignment before any bolts go in.
- Insert and tighten mounting hardware to the torque value the equipment’s documentation specifies. Overtightening can distort the bracket or the structure itself, so a torque wrench beats estimating by feel.
- Reconnect hydraulic hoses at clean, debris-free fittings, tightening enough to prevent leaks without overstressing the connection.
- Reattach the platform, aligning mounting holes carefully before securing bolts or pins, then confirm the platform sits level once fastened.
- Restore power and test the lift through a full cycle, watching and listening for anything unusual, such as uneven movement, grinding noise, or a delayed response.
- Lubricate moving parts as a final step before returning the vehicle to service, following the interval and grease type the equipment documentation calls for.
It is worth running the lift through several full cycles, not just one, before calling the job finished. A single smooth cycle can mask a minor issue, such as a hose fitting that seats properly under light pressure but starts to seep once the platform carries a load. Testing with an approximate working load, where it’s safe and practical, gives a more realistic picture than an empty-platform test alone. Fleets should also recheck mounting hardware after the first few uses of a vehicle returning to service the same day, since bolts can settle slightly once the structure carries real weight for the first time.
Troubleshooting and Maintenance Tips
Common Symptoms and Quick Checks
Not every issue with a vertical tail lift requires removal. The table below outlines some common symptoms, their likely causes, and a reasonable first action.
| Symptom | Likely Cause | Recommended Action |
|---|---|---|
| Platform lowers or rises unevenly | Uneven hydraulic pressure or a worn guide component | Inspect hydraulic lines for leaks; consult a technician if the platform stays uneven |
| Slow or delayed response to controls | Low hydraulic fluid or a wiring issue at the control box | Check fluid level first; inspect the wiring if the issue persists |
| Unusual noise during operation | Insufficient lubrication or wear on moving components | Grease all accessible pivot points; schedule a closer inspection if noise continues |
| Lift does not respond at all | Power disconnect, blown fuse, or a deeper electrical fault | Verify battery and connections before assuming a major failure |
Preventive Maintenance Habits
Consistent upkeep reduces how often these symptoms show up in the first place:
- Grease all exposed pivot points and rollers on the schedule the equipment documentation provides
- Check hydraulic fluid levels regularly and top up only with the fluid type the unit calls for
- Inspect mounting hardware periodically, since vibration from regular driving can gradually loosen bolts
- Keep a simple maintenance log noting dates, fluid levels, and any replaced parts, which makes patterns easier to spot over time
- Test the full lift cycle occasionally, even when nothing seems wrong, to catch early signs of wear
For fleets managing multiple vehicles, matching the platform and lift structure to the correct specifications keeps maintenance predictable. Details on load capacity and mounting configurations are available on the Vertical Tail Lift product page.
Timing also affects how much a maintenance program actually saves. A fleet that services its lifts on a fixed calendar, rather than waiting for a visible fault, generally spends less over a year than one that treats every issue as a same-day emergency. Emergency callouts tend to cost more, keep a vehicle out of service longer, and sometimes involve replacing a part that a routine check would have caught while it was still minor. None of this means every fleet must handle every task in-house. It simply means that scheduled attention, whether performed internally or through periodic tail lift servicing, tends to beat reactive tail lift repairs after a breakdown, at least on cost over time.
Documentation helps too. A shared record noting the vehicle, the date, and the work performed makes patterns easier to spot. One vehicle needing hydraulic top-ups more often than the rest of the fleet, for instance, can point to a slow leak worth investigating early.
Frequently Asked Questions
What is a vertical tail lift?
A vertical tail lift is a loading platform that mounts at the rear of a truck or van and raises and lowers along a fixed vertical structure. It moves goods between ground level and the vehicle bed without a forklift or loading dock, and it’s common on box trucks and cargo vans.
How often should a vertical tail lift be serviced?
Service intervals depend on usage and the manufacturer’s documentation, but most fleets schedule lubrication and a basic inspection every few months, with a more thorough check at least annually. Vehicles in heavy daily use, or ones that face road salt and extreme temperatures, often need shorter intervals to keep hydraulic and mechanical parts performing consistently.
Can a vertical tail lift be repaired without professional help?
Lubrication, fluid checks, and hardware inspection are often manageable in-house with the right tools and a bit of mechanical experience. A trained technician should handle anything involving hydraulic line work, structural removal, or a unit still under warranty, both for safety and to avoid voiding manufacturer coverage on the equipment.
Why is my vertical tail lift not working?
A lift that does not respond usually points to a disconnected power source, a blown fuse, or an electrical fault at the control box. Low hydraulic fluid or a stuck valve can also block movement. Checking power and fluid levels first often narrows down the cause quickly, before anyone assumes a larger mechanical problem is to blame.
Whether a vertical tail lift needs routine attention or a full removal comes down to a few consistent questions. Does the task involve hydraulic pressure or structural mounting? Is the unit still under warranty? Is there a way to support heavy components mechanically rather than by hand? Fleet teams that can answer yes to proper support, and no to warranty concerns, can often manage basic vertical tail lift maintenance in-house. When those answers point the other way, bringing in a professional tends to save both time and risk in the long run.
Trusted by Fleet Operators Across 60+ Countries
Stop Losing Time at the Loading Dock.
Get a Custom-Matched Tail Lift Quote in 24 Hours.
60
Countries Served
24h
Quote Turnaround
99.9
Field Uptime
5.0
Customer Rating
No Obligation
CE & UKCA Certified
Standard & Custom Builds
Worldwide Shipping