Having trouble submitting? Email us directly at nicole@beauway.com and we'll get back to you within 24 hours.











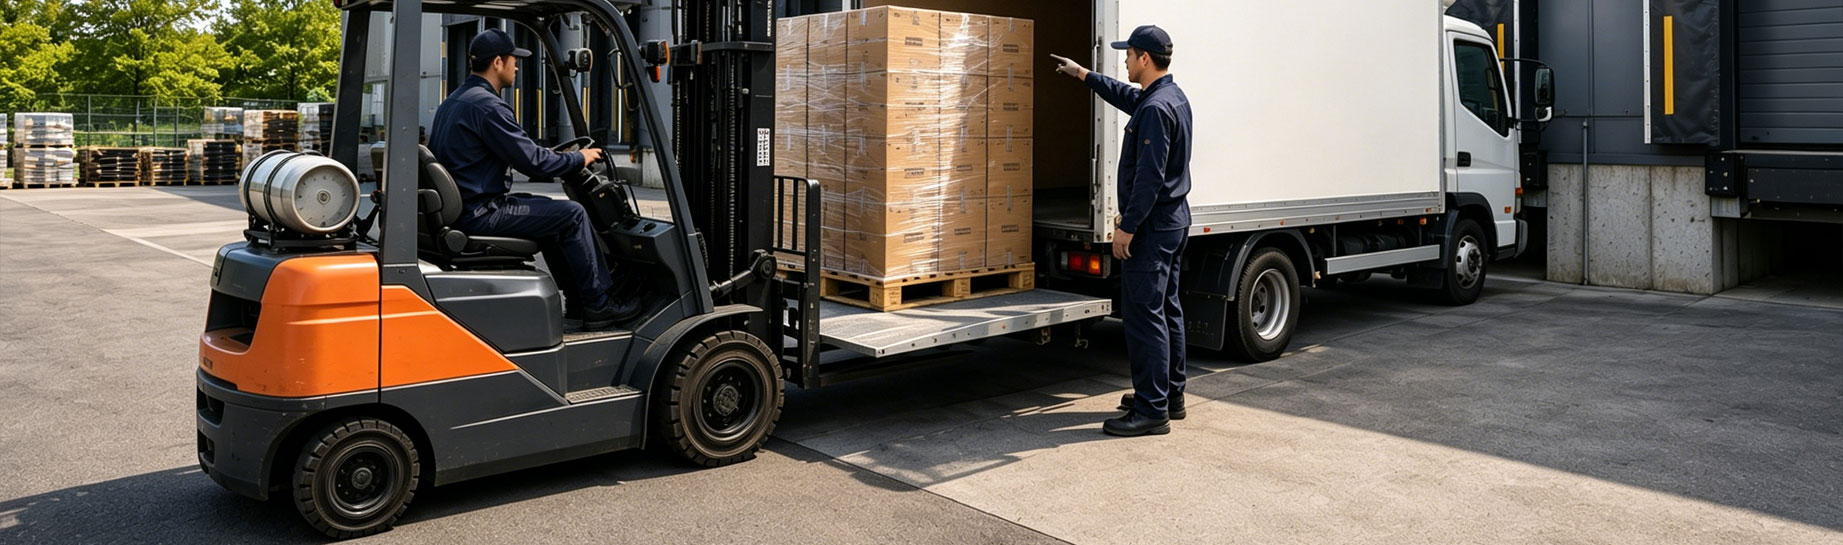
Tail Lift Troubleshooting: Noise or Slow Lifting? 4 Key Fixes
In the logistics and freight industry, the tail lift works harder than almost any other part of the truck. Drivers raise and lower it dozens of times a day, often under heavy loads, on rough roads, and in every kind of weather. When it’s stable and reliable, cargo moves fast. When it isn’t, drivers lose time and safety risks go up.
If your tail lift makes strange noises or feels sluggish when raising or lowering, don’t assume the unit is failing. Basic tail lift troubleshooting almost always points to one of four simple maintenance gaps. A well-built lift is only half the equation. Consistent care is the other half.
This guide covers the four maintenance details behind most tail lift breakdowns. It also includes a quick-reference schedule and answers to common questions from fleet operators and drivers who need fast, practical tail lift troubleshooting steps.
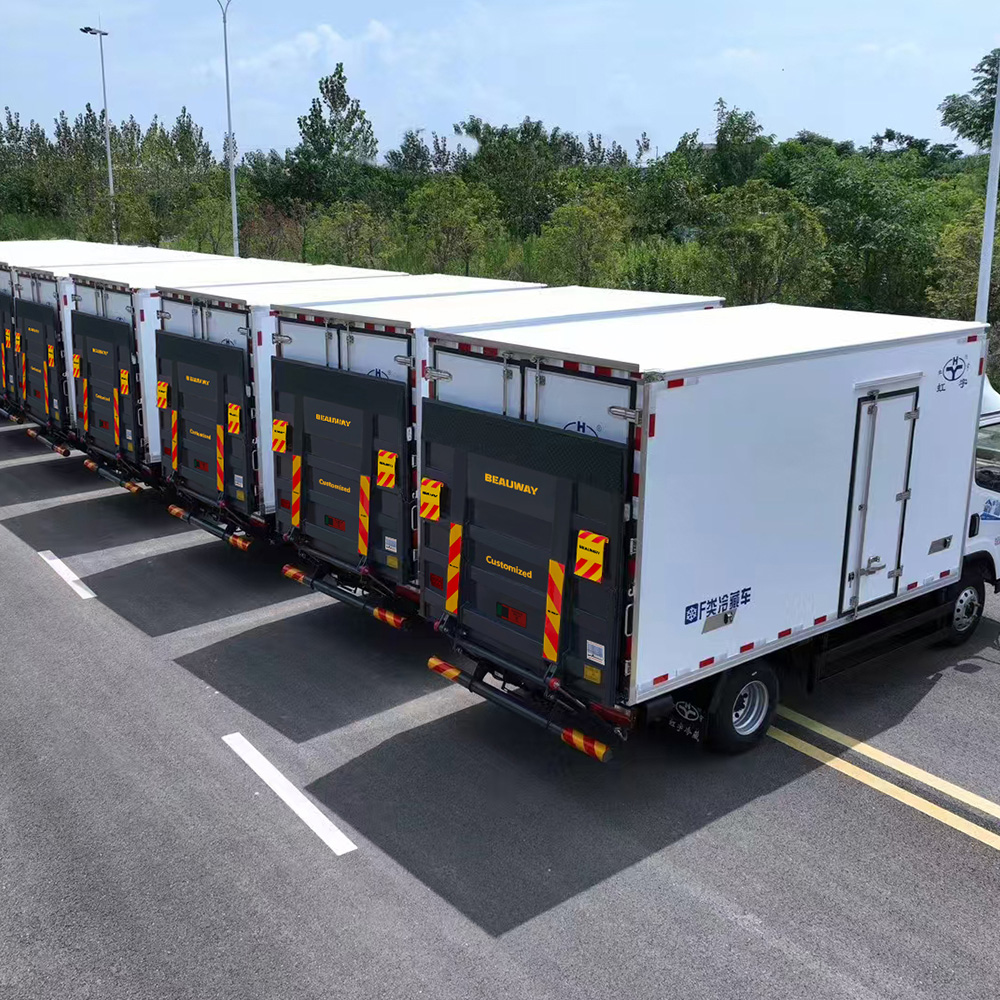
Tail Lift Troubleshooting 101: Why Noise and Slow Lifting Happen
Before jumping into fixes, it helps to understand the two most common symptoms.
Tail lift noise — squeaking, grinding, or knocking during operation — usually signals a friction problem. Metal parts rubbing together without enough lubrication wear down fast and get louder over time.
Slow lifting points to a different cause. The hydraulic fluid that powers the system has likely degraded, thickened, or picked up contamination. Without clean oil at the right grade, the lift can’t move at full strength — a classic tail lift slow lifting fix starts by checking the oil condition first.
Both symptoms are early warnings. Ignore them, and they tend to escalate into full mechanical failure, unplanned downtime, and expensive repairs. That’s exactly why tail lift troubleshooting works best as a habit, not a one-time fix triggered by a breakdown.
Most drivers treat troubleshooting as something that starts after a failure. A driver notices a problem, calls it in, and waits for a technician. But by the time a lift stops working, the underlying cause has usually built up for weeks. Noise and slow response are the equipment sending a signal. Learn to read that signal early, and tail lift troubleshooting becomes a five-minute check instead of a roadside emergency.
The cost of skipping this step adds up fast. A tail lift that fails mid-route causes a delayed delivery. The driver waits for roadside support. In some cases, the crew can’t unload cargo safely at all. Compare that cost to a tube of grease or a liter of hydraulic oil, and the case for staying ahead of maintenance makes itself.
Tail Lift Troubleshooting Step 1: Grease the Pins Regularly
Pin lubrication sits at the top of every tail lift troubleshooting checklist, and drivers skip it more than any other item. The pivot pins rotate constantly under load and vibration. Without enough grease, friction builds fast. The result: accelerated wear, stiff movement, and that unmistakable squeak. Getting tail lift pin lubrication right is one of the simplest ways to prevent tail lift squeaking sound causes before they start.
Grease schedule:
- Standard freight routes: every 1 month
- Heavy loads or rough routes: every 2 weeks
How to do it right:
- Clean dirt off the grease nipple first. Pushing grit into the pin bushing causes more damage than the wear it’s meant to prevent.
- Apply grease until fresh product pushes out from the pin joint. This confirms old grease and debris have flushed out.
- Wipe away excess grease. Leftover grease attracts more dust and dirt.
A consistent tail lift grease schedule eliminates most squeaking before it starts. It’s the fastest win in any tail lift troubleshooting routine.
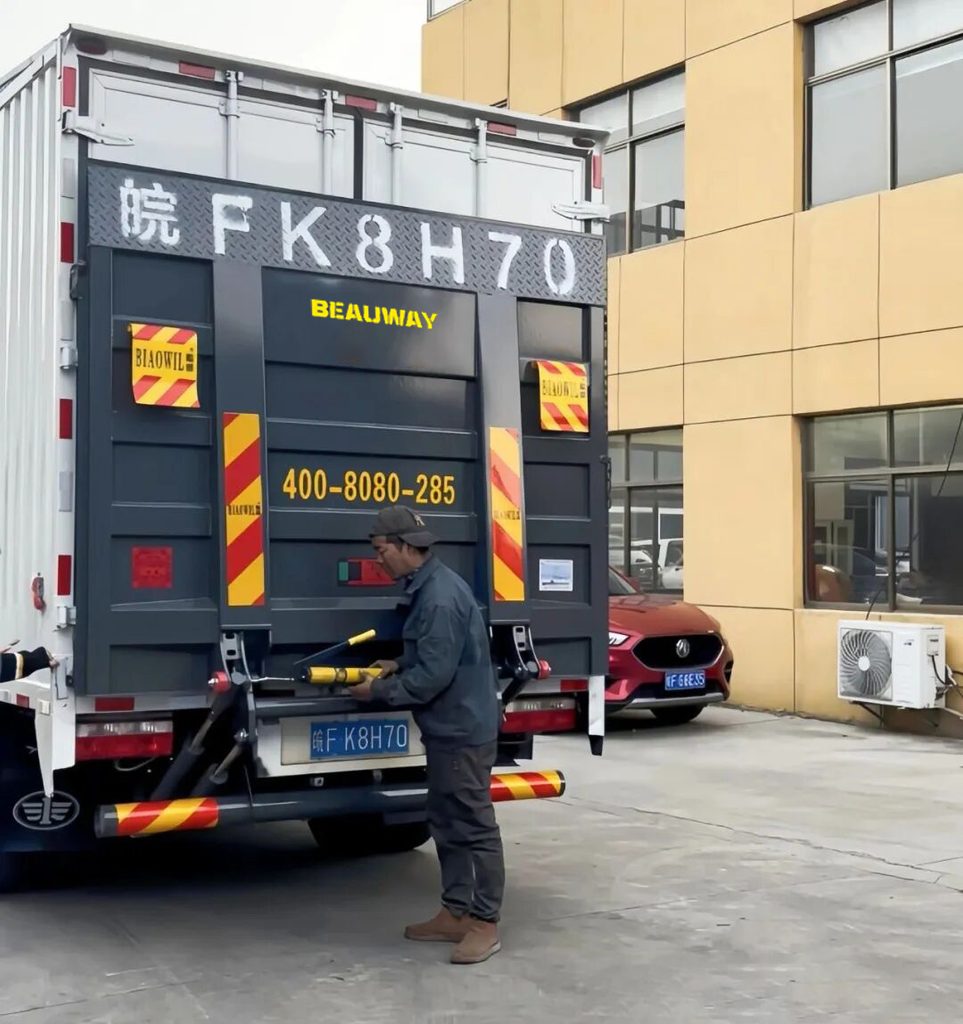
Tail Lift Troubleshooting Step 2: Change the Hydraulic Oil on Schedule
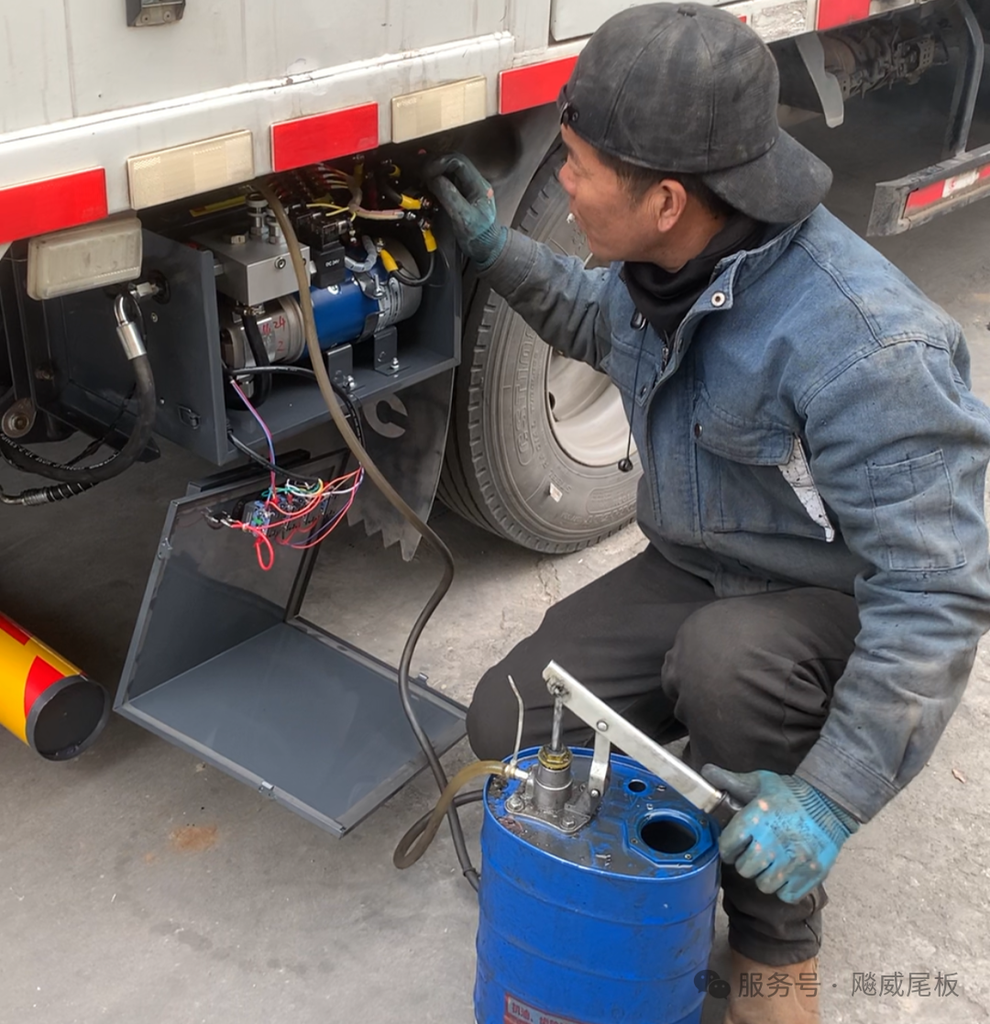
Pin lubrication solves friction. Hydraulic oil solves power. This fluid drives the lifting motion directly, which is why hydraulic tail lift maintenance deserves just as much attention as greasing. When it degrades or picks up contamination, the platform loses power, responds slowly, or hesitates mid-cycle. Dirty oil also clogs valves over time.
Change interval:
- Every 6 months, or every 500 hours of use — whichever comes first
- Immediately, if the oil looks cloudy, milky, or dark and thick
How to change it correctly:
- Drain the old oil fully. Clean out any sludge sitting at the bottom of the reservoir.
- Filter new oil through a 200-mesh screen before adding it. This keeps particles out of the hydraulic system.
- Run the lift up and down 3–5 times with no load after refilling. This bleeds trapped air from the lines. Recheck the oil level and top off if needed.
Oil grade matters as much as the schedule. Many drivers miss this step entirely:
- Spring, summer, autumn: use ISO 46 anti-wear hydraulic oil for normal temperatures
- Winter, or below 10°C (50°F): switch to ISO 10 low-temperature oil, which stays fluid in the cold
Seasonal oil grading deserves its own line item in any tail lift troubleshooting checklist. Winter tail lift maintenance often gets overlooked because oil that works fine in summer can thicken once temperatures drop, and that thickened oil is one of the most common causes of slow lifting in winter. If your lift only turns sluggish in cold weather, check the oil grade first. It’s usually the answer.
Tail Lift Troubleshooting Step 3: Inspect Key Components
Road vibration and daily open-close cycles loosen bolts and wear down hoses, even on a well-built lift. Catching these issues early is central to real tail lift troubleshooting, because most serious failures start small and stay fixable for a while before they turn into breakdowns.
Inspection frequency:
- Quick check before every departure
- More frequent checks for heavy loads or long-haul routes
What to check:
- Bolts and fasteners: look for anything loose or missing.
- Hoses and fittings: check for bulging, worn casing, or exposed wire mesh. Check cylinder connections for seepage. Tighten or replace the seal right away for minor leaks.
A five-minute walk-around before each shift catches most issues early. Keep a simple log of anything you tighten or replace. Patterns matter. If the same bolt keeps loosening, or the same fitting keeps leaking, that points to a deeper problem a technician should check.
Tail Lift Troubleshooting Step 4: Follow Proper Operating Habits
Maintenance only goes so far if the operator uses the lift incorrectly. Many tail lift problems trace back to how drivers use the equipment, not the hardware itself. Most maintenance checklists skip this step entirely.
Habits that protect your tail lift:
- Never exceed the rated load capacity. Overloading strains the hydraulic system and pivot pins directly. It’s one of the fastest paths to premature wear or sudden failure.
- Operate on level ground when possible. An incline puts uneven stress on the platform and cylinders.
- Use smooth, steady controls. Jerky operation or rushing the cycle sends shock loads through parts built for steady movement.
- Confirm the platform is fully deployed before lifting. Check load distribution too. Never lift with the platform partially unfolded or misaligned.
Operator habits and mechanical maintenance work as a team. A well-maintained lift that’s routinely overloaded still fails early. A carefully operated lift still wears out without grease and service. Fleet managers should build these habits into driver onboarding rather than assume drivers already know them. A short walkthrough on rated capacity and load distribution takes a few minutes and prevents shock-load damage that no amount of maintenance can fully offset.
Tail Lift Troubleshooting Quick-Reference Table
| Maintenance Item | Standard Interval | Heavy-Use Interval |
|---|---|---|
| Pin lubrication (grease) | Every 1 month | Every 2 weeks |
| Hydraulic oil change | Every 6 months / 500 hours | Sooner if oil is discolored |
| Hydraulic oil grade | ISO 46 (spring–autumn) | ISO 10 below 10°C / 50°F |
| Bolt & hose inspection | Weekly, pre-departure | Daily for long-haul/heavy loads |
| Operating load | Never exceed rated capacity | — |
Save this table and keep it in the cab. It covers the core of any tail lift troubleshooting routine a driver or fleet manager needs.
A Simple Weekly Rhythm for Tail Lift Troubleshooting
Drivers and small fleets without a dedicated maintenance team can treat these four areas as a rotating weekly rhythm instead of four separate tasks:
- Every departure: check bolts, hoses, and fittings (Step 3)
- Every 2–4 weeks: grease the pins, more often under heavy use (Step 1)
- Every load: confirm rated capacity and full platform deployment (Step 4)
- Every 6 months, or with the seasons: check hydraulic oil condition and grade (Step 2)
Framed this way, tail lift troubleshooting stops feeling like a separate chore. It becomes part of the same pre-trip and seasonal routines drivers already follow for the rest of the vehicle.
Frequently Asked Tail Lift Troubleshooting Questions
Q:Why is my tail lift making a squeaking noise?
A: Squeaking almost always signals a lubrication issue. The pivot pins aren’t getting enough grease, so metal grinds against metal. Clean the grease nipples and apply fresh grease until it pushes out of the joint. If the noise continues, the pin or bushing may need replacement.
Q:How often should I change tail lift hydraulic oil?
A: The tail lift hydraulic oil change interval is every 6 months or every 500 hours of operation, whichever comes first. Change it immediately, regardless of schedule, if the oil looks cloudy, milky, or dark and thick — discolored oil signals contamination that can damage valves and the pump.
Q:Why is my tail lift lifting slowly?
A: Slow lifting usually points to a hydraulic oil problem. The oil may have degraded, or it may be the wrong grade for the current temperature. Cold weather thickens standard oil and slows flow. Switching to a low-temperature grade in winter resolves this in most cases.
Q:Do I need to replace a part every time I notice minor wear?
A: Not always. Minor wear, like a small amount of seepage at a fitting, often just needs a tightened connection or a new seal. Replacement usually becomes necessary when a component shows significant wear, cracking, or repeated leaking after a seal has already been serviced. When in doubt, have a technician inspect it rather than wait for a small issue to grow.
The Bottom Line on Tail Lift Troubleshooting
A durable tail lift comes down to roughly 60% good engineering and 40% consistent care. Even the best-built lift develops noise, slow response, or early failure when pins run dry, oil goes unchanged, or bolts go unchecked. A modest lift that’s properly greased, correctly oiled for the season, regularly inspected, and operated within its rated capacity will consistently outlast one that isn’t.
None of these four steps take more than a few minutes. Built into a regular routine, they form the most effective tail lift troubleshooting system available — and the simplest way to cut breakdowns, avoid downtime, and get the full working life out of your equipment.
If you’re building this routine for the first time, don’t overhaul everything at once. Start with the pre-departure bolt and hose check since it takes the least time and catches the most immediate safety issues. Add the grease schedule next. Then fold the hydraulic oil change into your regular vehicle service calendar so it isn’t something you have to remember separately.
Ultimately, tail lift maintenance isn’t about chasing perfection. It’s about consistency. A lift that gets basic attention every week will almost always outperform one that only gets attention after something breaks. Treat these four steps as a standing checklist, not a one-time fix, and effective tail lift troubleshooting becomes second nature.
Trusted by Fleet Operators Across 60+ Countries
Stop Losing Time at the Loading Dock.
Get a Custom-Matched Tail Lift Quote in 24 Hours.
60
Countries Served
24h
Quote Turnaround
99.9
Field Uptime
5.0
Customer Rating
No Obligation
CE & UKCA Certified
Standard & Custom Builds
Worldwide Shipping