Thank You for Your Inquiry!
We've received your message and truly appreciate your interest. Our team will get back to you within 24 hours.
Tail lift installation is a high-precision process that directly affects vehicle safety, load efficiency, and legal compliance. Done incorrectly, it can shorten equipment lifespan and create serious hazards for drivers and logistics teams.
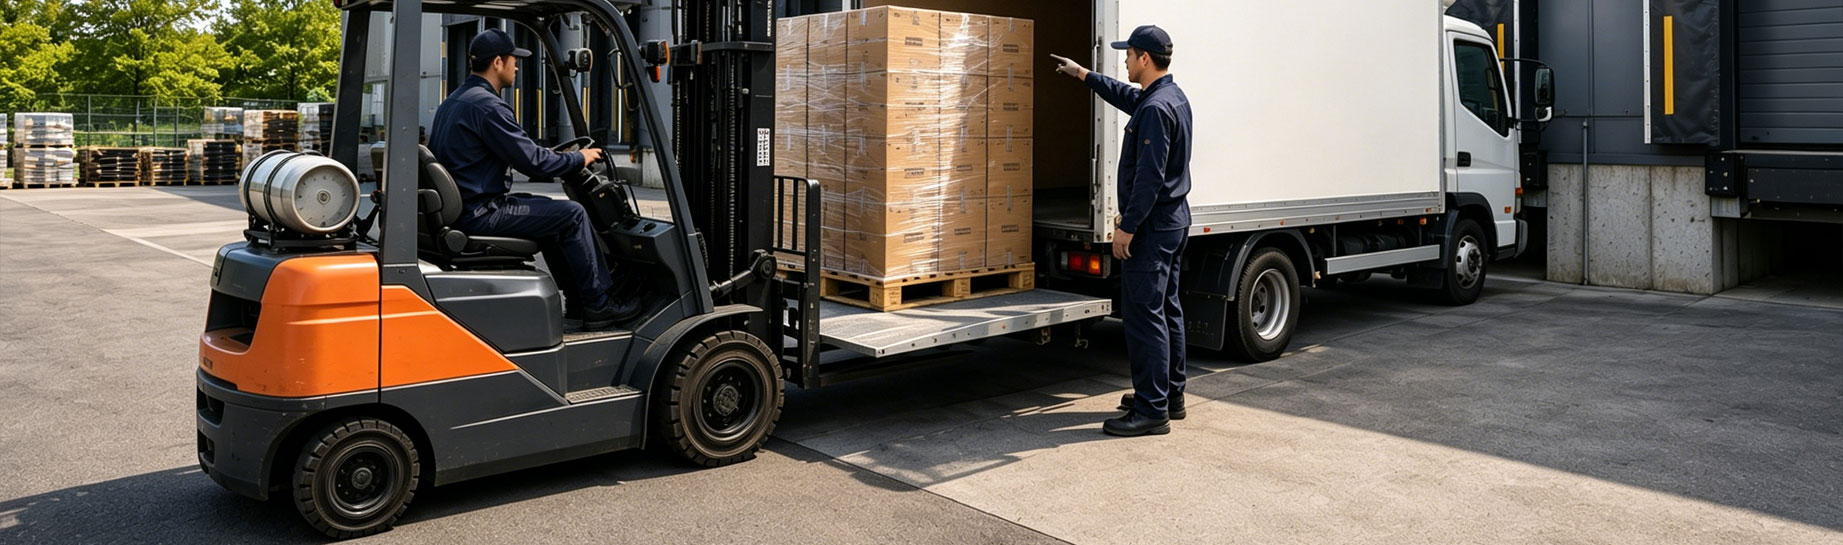
A tail lift is a hydraulically powered lifting platform mounted permanently to the rear of a truck or van. It raises and lowers goods safely between ground level and the vehicle’s load bed. This eliminates manual heavy lifting and reduces reliance on forklifts at delivery points.
However, installation is far more than bolting a platform to a bumper. It changes the vehicle’s force-bearing structure, affects gross vehicle weight, and triggers legal re-registration requirements in many markets.
For any tail lift installation service provider or fleet operator, understanding each phase of the process is essential before signing a tail lift installation service agreement or requesting a tail lift installation cost quote.
Before any tools come out, a full “physical examination” of the vehicle is required.
Frame strength assessment comes first. Installing a tail lift changes how load forces travel through the chassis. The frame must have sufficient rigidity and strength to carry the lift’s weight plus the massive torque generated during operation. Vehicles requiring “beam cutting” must be evaluated by a qualified structural engineer.
Dimensional measurement is equally critical. Technicians must precisely measure rear width, height, and backup installation space. The selected tail lift model must fit without obstructing rear doors, reversing radar sensors, or lighting systems.
Weight calculation cannot be skipped. A standard tail lift weighs several hundred kilograms. That weight counts against the vehicle’s rated payload. Exceeding the gross vehicle weight limit creates legal and insurance exposure for any tail lift installation for transport company operations.
Therefore, always complete the inspection checklist before approving a tail lift installation procurement order.
In most markets, tail lift installation legally counts as a modification to the vehicle’s technical data and appearance. Re-registration with the relevant transport authority is mandatory after fitting.
Under EU Machinery Directive 2006/42/EC, tail lifts for goods must comply with EN 1756-1:2021. This standard governs safety requirements for all platform lifts mounted on wheeled vehicles. A manufacturer’s CE type test is required for market approval across all CEN member states.
In the UK, every tail lift in commercial use must undergo a thorough examination by a competent person under the Lifting Operations and Lifting Equipment Regulations 1998 (LOLER), at fixed intervals. Operating outside those intervals is a Health and Safety Executive-actionable offence.
Tail lift installation must be carried out by qualified and trained personnel. The various aspects of mechanical installation, hydraulic and electrical connections require different areas of expertise. It is the installing company’s responsibility to ensure that the installer has the necessary training to carry these tasks out safely.
Any reputable tail lift installation company will confirm compliance requirements before starting work. A legitimate tail lift installation service contract should reference EN 1756-1:2021 and local registration obligations explicitly.
For further regulatory detail, refer to the TAILLIFT.org legal demands resource.

Good tail lift installation starts with a proper working environment.
Choose a flat and solid site to ensure there is sufficient space for lifting the vehicle and conducting operations. Professional installation teams will prepare levels, torque wrenches, welding equipment, and hydraulic pipeline tools to ensure installation accuracy.
The standard toolkit for a professional tail lift installation contractor includes:
Precision spirit levels are needed to verify bracket alignment. Torque wrenches ensure bolts reach the manufacturer’s specified tightening values. Welding equipment handles bracket attachment on beam-cut configurations. Hydraulic line tools prepare and connect the oil circuit. Lifting hoists allow the main body of the tail lift to be positioned safely onto the vehicle.
In addition, the installation area must be clear of other vehicles and pedestrian traffic throughout the process. Safety glasses are mandatory for all personnel on site.
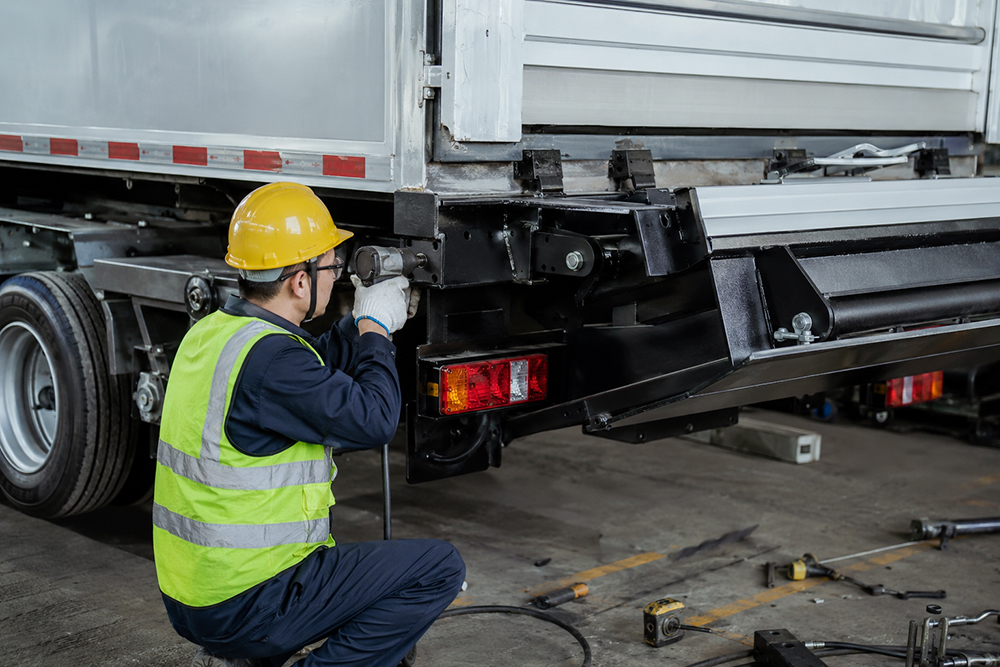
This is the most structurally critical phase of the entire installation.
According to the design drawings, technicians must precisely mark the installation position of the bracket on the vehicle frame. The support is then firmly fixed to the main beam using high-strength bolts or welding. A level is an indispensable tool at this stage — it is essential to ensure that the left and right supports are completely level. Uneven supports cause the tail lift to operate under uneven load distribution.
Tail lift manufacturers generally recommend bolting tail lifts to truck chassis and bolting or clamping to the I-profile of trailer chassis. Recommendations for the number and size of bolts, bolt strength, and tightening torque are clearly specified in the manufacturer’s installation instructions for each model.
For example, column-type tail lifts typically use Grade 10.9 bolts with a minimum shank length of 5mm at mounting points. Bolt specifications must also meet the minimum strength requirements outlined in ISO 3506.
However, no installer should substitute smaller or lower-grade fasteners, even when the specified hardware is unavailable. Non-compliant fasteners void the equipment warranty and compromise structural safety.
Hydraulic oil pipes are the “blood vessels” of the tail lift. Wiring must follow the principle of neatness, firmness, and heat avoidance. Pipes are fixed with clamps and kept away from high-temperature components such as exhaust systems to prevent hose wear and potential oil leakage.
The motor drives the gear pump, which draws hydraulic oil from the reservoir and builds pressure. The pressurized oil flows into the manifold block, where it is distributed to different hydraulic valves. These valves control the direction of flow into the cylinder, allowing the piston to move and complete the lifting or lowering action.
The electrical connection links the tail lift control system directly to the vehicle battery. Proper insulation and a dedicated safety isolator switch are non-negotiable. Modern installations integrate multiple control functions including emergency stop, overload protection, and limit switches.
As a result, any tail lift installation technical support team should test all electrical circuits with a continuity meter before commissioning the hydraulic system.
Lifting equipment is used to slowly raise the main body of the tail lift and connect it to the support brackets using high-strength locking pins. After all hydraulic pipelines and electrical circuits are connected, the first power-on test checks whether lifting, lowering, folding, and unfolding actions are smooth and free of abnormal noise.
This no-load test verifies:
Platform travel is smooth throughout the full range of motion. Control inputs respond immediately without delay or stuttering. No hydraulic fluid leaks are visible at joints, hoses, or cylinder connections. Electrical contactors, micro-switches, and emergency stop function correctly.
Therefore, if any abnormal noise or resistance appears during this phase, the system must be powered down and inspected before proceeding.
No tail lift installation is complete without a full load test.
After the no-load test is normal, a load test must be conducted. A heavy object equivalent to the rated load — such as 1 tonne or 2 tonnes — is placed on the platform to test the operating state under maximum load. Each component is checked for deformation, and the hydraulic system is observed for stability. Based on the test results, final fine-tuning is made to system pressure settings and limit devices.
Standard tail lift capacities range widely by vehicle type. Standard models can lift up to 2,500kg. Some heavy-duty models exceed this limit, making them suitable for industrial applications where extreme loads must be transported.
In addition, the relief valve must be calibrated correctly. Turning the valve clockwise increases the maximum load the system will handle. Counterclockwise decreases it. Final settings must match the rated Safe Working Load marked on the equipment decal.
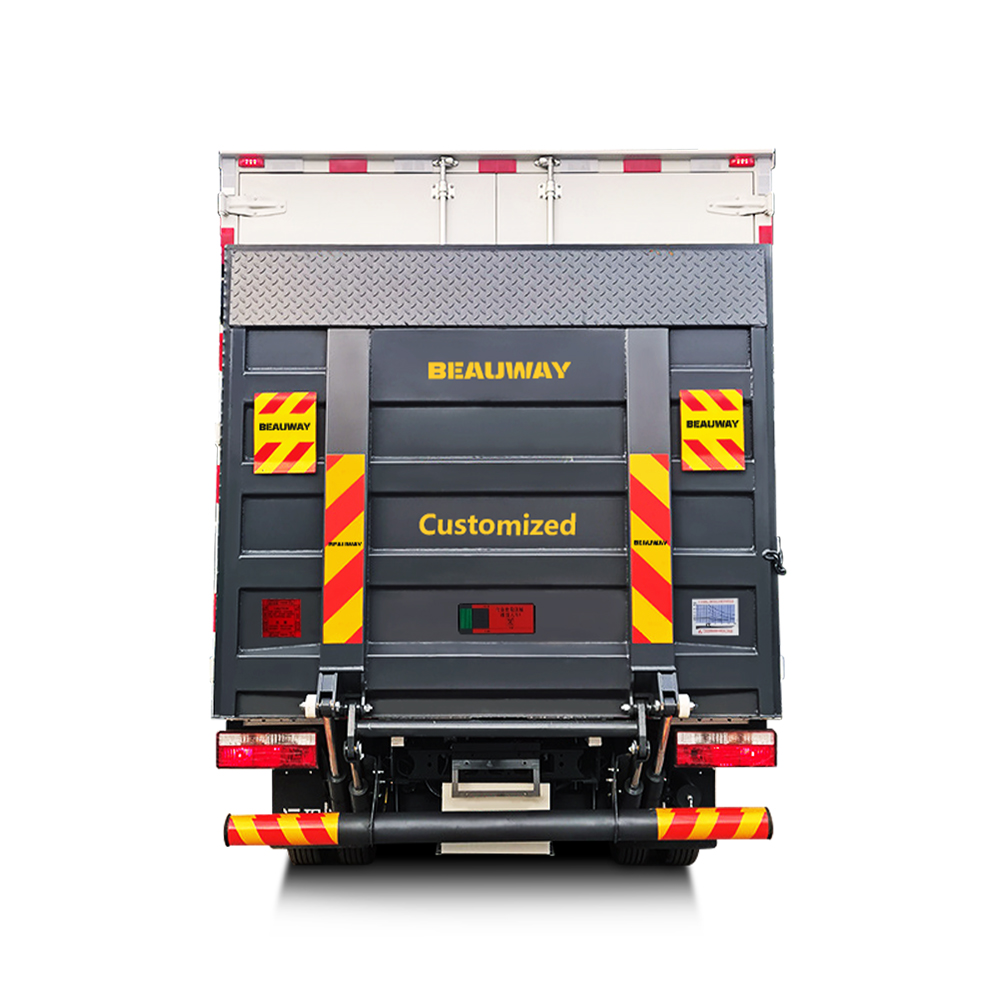
The acceptance checklist covers four key areas. First, smooth operation: under both no-load and load conditions, the tail lift must run without abnormal vibration or noise. Second, sealing performance: all hydraulic joints must be free of oil leaks. Third, safety: explosion-proof valves, emergency descent valves, and safety struts must all function correctly. Fourth, appearance: the installation must integrate cleanly with the vehicle rear without affecting any original vehicle systems.
After sign-off, operator training covers the remote control operation, daily maintenance points such as grease intervals and hydraulic fluid level checks, and emergency fault procedures.
This handover moment is where tail lift installation after-sales service commitments begin. A quality tail lift installation service agreement includes scheduled follow-up inspection at 30 days post-installation.
Tail lift installation costs in the industry typically vary depending on vehicle condition and installation complexity.
For vehicles with standard installation conditions, the basic installation cost generally ranges from 500–1200 USD. For regular commercial vehicles, the overall installation cost usually fluctuates between 800–2000 USD.
Anyone requesting a tail lift installation cost quote should factor in:
The unit equipment cost based on capacity and type. Installation labour, which varies by market and vehicle configuration. Registration and compliance documentation fees. Ongoing tail lift installation after-sales service contract costs.
For tail lift installation for fleet operations, a consolidated tail lift installation bulk order through an OEM tail lift fitting supplier consistently delivers the lowest total cost of ownership. A formal tail lift installation price list from a qualified commercial tail lift installation supplier should break all these elements out line by line.
Not all installers carry the qualifications this work demands. When evaluating any tail lift installation company or looking for a tail lift installer contact locally, verify the following before committing.
Confirm the installer holds current certification to work under EN 1756-1:2021 and relevant national regulations. Ask for evidence of LOLER-compliant inspection capability if operating in the UK. Request a full tail lift installation service contract covering workmanship warranty, parts sourcing, and emergency callout terms.
For tail lift installation B2B service at scale — fleet operators, truck dealers, and logistics companies — a structured tail lift installation partnership with an established tail lift installation distributor reduces procurement complexity and ensures consistent quality across all vehicles.
When evaluating a tail lift OEM fitting supplier, confirm they offer tail lift installation technical support post-commissioning, not just delivery. A quality tail lift fitting service for logistics company relationships includes dedicated account management, a published tail lift installation price list, and flexible terms for tail lift installation wholesale volumes.
For a tail lift installation service inquiry or to request tail lift installation quote from certified providers, contact suppliers who can demonstrate verified installation volume and current compliance credentials.
Tail lift installation is a systematic engineering project. Every phase — from frame inspection to load testing — directly affects operational safety and equipment longevity. Cutting corners at any stage creates liability, accelerates wear, and risks regulatory penalty.
For tail lift installation for truck dealers, fleet operators, and tail lift installation procurement teams: partner with certified professionals, insist on documented acceptance testing, and build a long-term tail lift installation service agreement before the first vehicle goes into service.