Having trouble submitting? Email us directly at nicole@beauway.com and we'll get back to you within 24 hours.











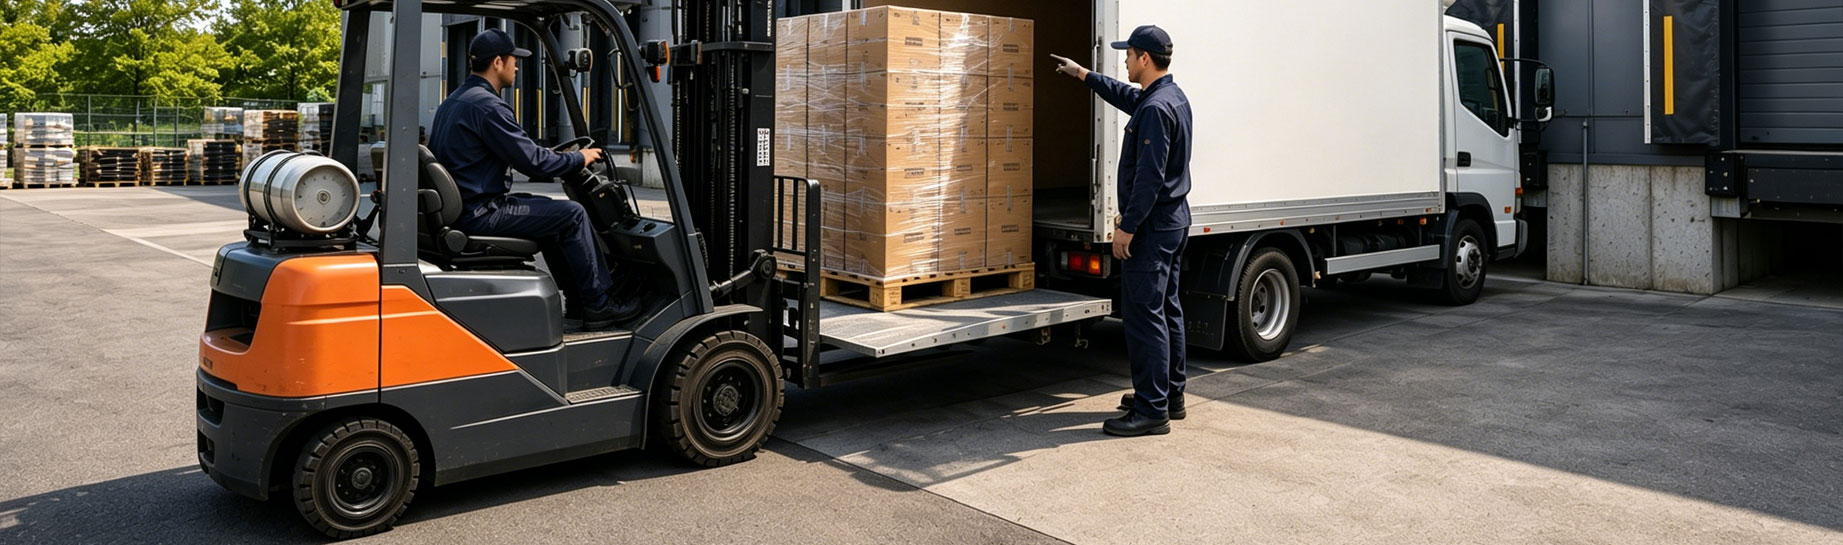
Tail Lift Van Installation: Torque Specs & Common Mistakes
Installing a Tail Lift Van: Torque Specs and Common Mistakes
Most tail lift van problems in the first month have nothing to do with the equipment itself. A bolt torqued to guesswork, a bracket that doesn’t quite match the frame, a platform hung a hair out of alignment – these show up as rattles, sags, or fault codes, and nearly all of them trace back to how the unit was installed, not what was installed.
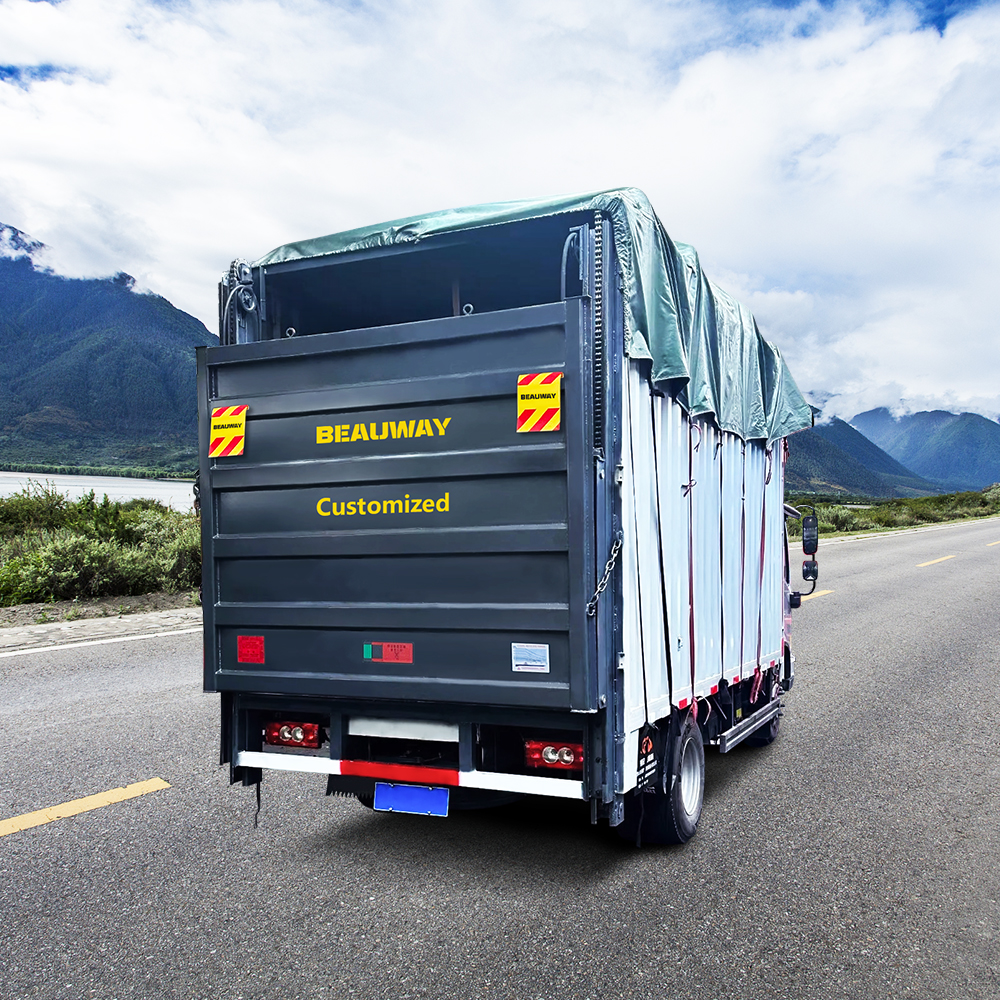
What Happened in Bristol, UK — March 2025
A regional parcel operator had a vertical tail lift fitted on a 3.5-tonne van. Three weeks later, the driver reported a clunk every time the platform came down. The installer went out, checked the subframe, and found the mounting bolts sitting well under the torque value called for in the manual. Two of the eight bolts had actually backed off completely, letting the frame flex whenever it took weight. Fixing it took under an hour: re-torque all eight bolts to spec with a calibrated wrench, swap out two washers that had deformed, recheck the platform for level. That van has run daily for six months since with no repeat of the issue.
Why Torque Specs Matter on a Tail Lift Van
Every tail lift van relies on its mounting plates to pass the load evenly into the vehicle chassis. Most mainstream units use grade 10.9 high-strength bolts, which follow the ISO 898-1 standard – a public classification, not something any one manufacturer owns. Here’s the part installers sometimes miss: the torque figure for a given bolt isn’t fixed. A bolt under axial (pull) load and the same bolt under shear load can call for torque values several times apart. So there’s no single number worth memorizing and reusing job to job. It comes down to where the bolt sits, which direction it’s loaded, and what size it is. Guessing from experience, or borrowing a figure from a different lift model, is exactly how installs go wrong.
None of this replaces the manufacturer’s own documentation. ISO 898-1 explains why torque varies so much between applications, but the actual number for any given bolt still has to come from the installation manual supplied with that specific lift.
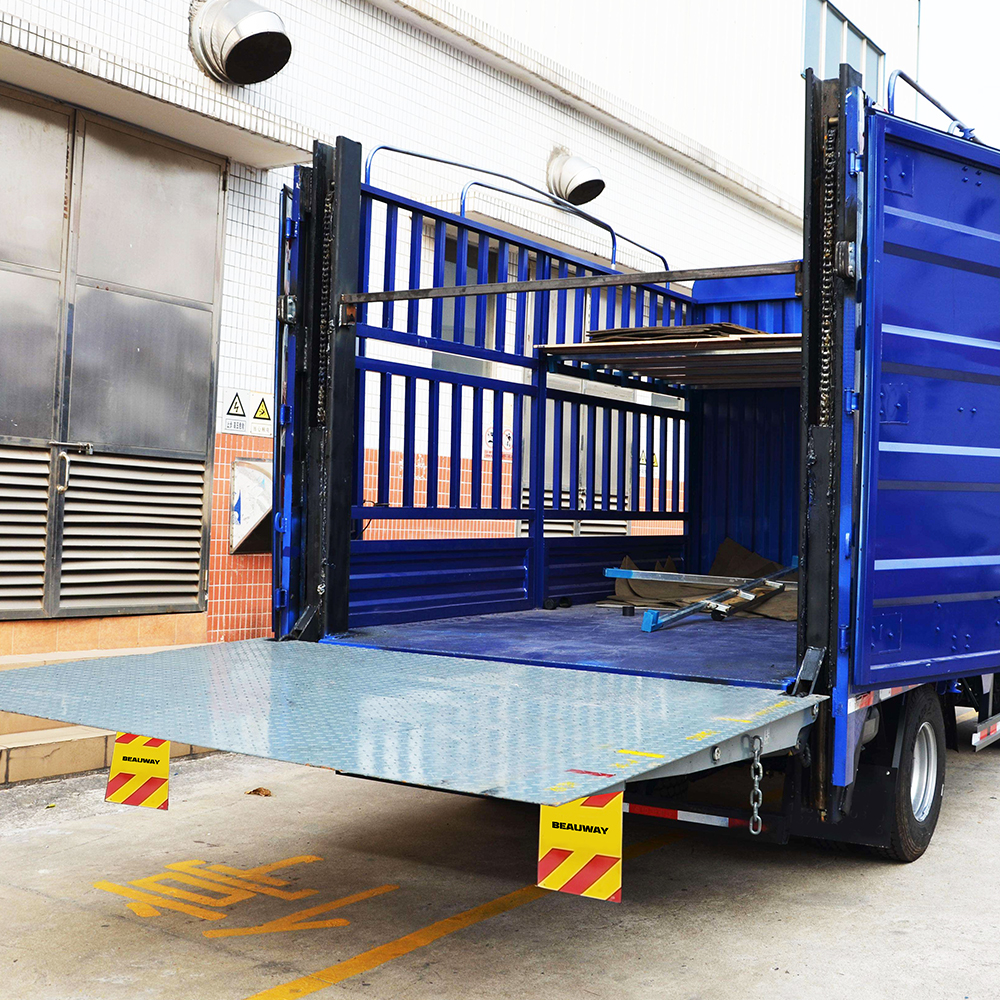
Common Installation Mistakes on a Tail Lift Truck
Even fitters who’ve done this for years repeat the same handful of mistakes. The table below sorts them by symptom, so a technician troubleshooting after the fact can work backward from what’s happening to what likely caused it.
| Symptom | Likely Cause | Corrective Action |
|---|---|---|
| Platform clunks or shifts on descent | Subframe bolts under the manufacturer’s specified torque | Re-torque to manual spec with calibrated wrench; inspect washers |
| Hydraulic fluid seepage at pivot | Pivot pin over-torqued, seal pinched | Back off to manual-specified range; replace seal if deformed |
| Platform not level (visible tilt) | Frame misalignment during mounting, tolerance exceeded | Re-align using tolerance gauge; shim frame as needed |
| Electrical fault code on startup | Wiring harness pinched between subframe and chassis | Reroute harness, add protective conduit |
| Excessive vibration in cab at highway speed | Rear-axle load exceeds the rated combined tail lift and vehicle allowance | Recalculate payload distribution against axle rating |
Torque Sequence for a Hydraulic Tail Lift Truck Installation
Working around the frame bolt by bolt in one direction is a common shortcut, and it’s the wrong one. A star pattern is what actually seats the subframe evenly. For a typical 8-bolt subframe, the sequence looks like this:
- Hand-tighten all eight bolts just enough to seat the frame.
- Working in a star pattern, bring each bolt to roughly half the manufacturer’s final spec.
- Go around again in the same pattern, this time to full spec.
- Wait 24 hours, then recheck every bolt – some settling is normal on a fresh install, and this is the step that catches it.
- Before handover, check the platform against the manufacturer’s level tolerance.
That 24-hour recheck in step 4 is the one fitters skip most often when they’re new to tail lift van installs, and aftermarket service records suggest a good chunk of early-life faults on hydraulic tail lift truck units come from exactly that shortcut.
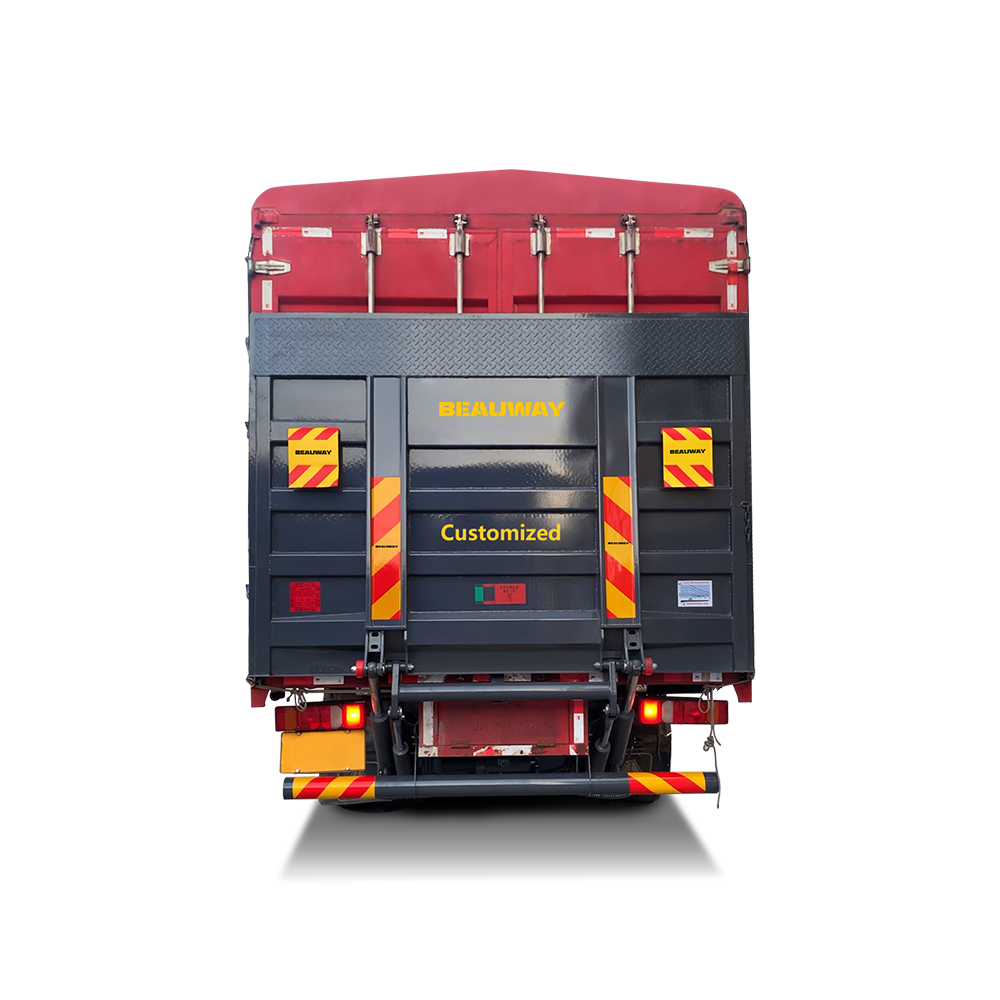
Bolt Grade and Bracket Material Considerations
Hardware isn’t interchangeable across every tail lift truck conversion. Most high-strength fasteners in this space follow ISO 898-1 grade 10.9, but the torque required shifts depending on whether the bolt is loaded axially or in shear – and that’s a distinction plenty of installers gloss over. The same bolt, loaded a different way, can need a noticeably different number, so there’s no single figure to fall back on. Mounting plates generally call for a minimum count of correctly sized bolts per side, spread as wide as the contact surface allows to spread the load. The exact count is on the manufacturer’s installation drawing, not something to eyeball.
Swapping in bolts that didn’t come from the original manufacturer means getting written confirmation from whoever supplied them that the strength is at least equivalent to the originals. Most tail lift manuals are blunt about why this matters: undersized or understrength bolts can let the lift drop off the chassis under load, and that’s not a minor repair issue – it’s a real injury risk to whoever’s near the vehicle when it happens.
Selecting the Right Tail Lift for the Vehicle
None of the torque discussion matters if the platform isn’t rated for the van in the first place. Bolt a lift meant for a heavier rigid truck onto a 3.5-tonne panel van, and the rear axle will be overloaded no matter how correctly the brackets are torqued. Fleet buyers working through a tail lift van conversion usually start by comparing vertical tail lift options against payload and door-height requirements before they get anywhere near installation planning. For heavier conversions, it’s worth a look at column tail lift specifications too, since the mounting torque and subframe design aren’t the same as a vertical unit’s.
Maintenance After Installation
Getting the install right is only half of it. Holding those torque values over time takes a maintenance rhythm:
- Bolt torque recheck: every 3 months in year one, then every 6 months after
- Hydraulic fluid level: monthly
- Platform tolerance check: every 6 months or 10,000 km, whichever comes first
- Full inspection under local lifting equipment regulations: annually in most places
Skip that first 3-month recheck and you’re setting up exactly the clunk-on-descent problem from the Bristol case above.
How Long Does a Tail Lift Van Installation Take?
A vertical tail lift installation on a panel van generally runs about a working day for an experienced two-person crew – and that’s before the 24-hour settling check, which should be a separate follow-up visit rather than something squeezed into the same day. Cantilever and column units on bigger rigid trucks take longer, mostly because of the extra subframe fabrication involved. Trying to finish everything, settling check included, inside one working day is where most torque-related comebacks start. That 24-hour wait genuinely needs to happen; it’s the only way to catch bolts that lost clamp load after the first real use.
Fleets planning a tail lift truck rollout across several vehicles should build installation slots around that reality instead of scheduling back-to-back same-day jobs. A rushed subframe mount looks identical to a properly torqued one right up until the vehicle’s been in service a few weeks.
Regional Terminology Note
Anyone sourcing parts or documentation outside English-speaking markets should know the terminology changes by country. In Germany, this equipment is usually called a Ladebordwand. In the Netherlands, it’s a Laadklep. Both describe the same tail lift van hardware covered in this article.
Trusted by Fleet Operators Across 60+ Countries
Stop Losing Time at the Loading Dock.
Get a Custom-Matched Tail Lift Quote in 24 Hours.
60
Countries Served
24h
Quote Turnaround
99.9
Field Uptime
5.0
Customer Rating
No Obligation
CE & UKCA Certified
Standard & Custom Builds
Worldwide Shipping